
thumb_up
thumb_down
Season 1
10 Episodes
Episode 1
-

The Fated Man... Forgive Me, Mother is a Woman Too
Episode 2
-
Sudden Development! Hoshio-Papa's Ex-girlfriend Invades!
Episode 3
-
It Was All a Lie... The Disappearing Husband Returns
Episode 4
-
The Disappearing Husband... Hoshio's Memories Return at Last
Episode 5
-
Hoshio's Violent True Nature A New Mystery
Episode 6
-
His Identity at Last! The Start of the Miracle
Episode 7
-
The New Chapter of the Star Prince Lover Begins
Episode 8
-
The Dangerous Power's Premonition of a Secret Farewell
Episode 9
-
A Major Incident at the Uno Home! The Pick-Them-Up Invasion
Episode 10
-
The Tears That Come After Goodbye
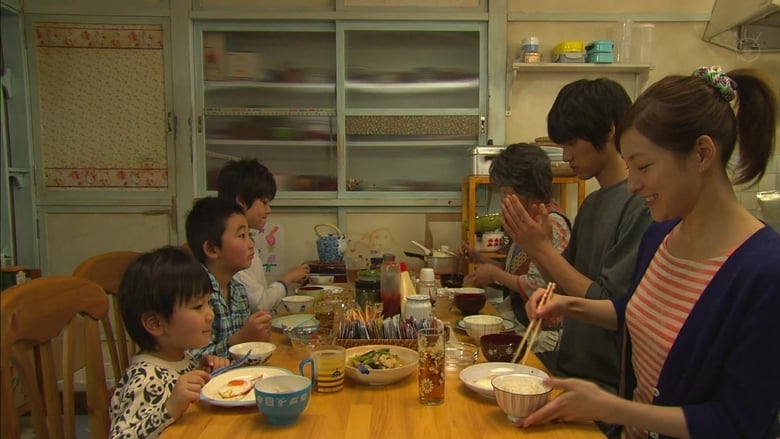
Starman: A Love Story
Overview
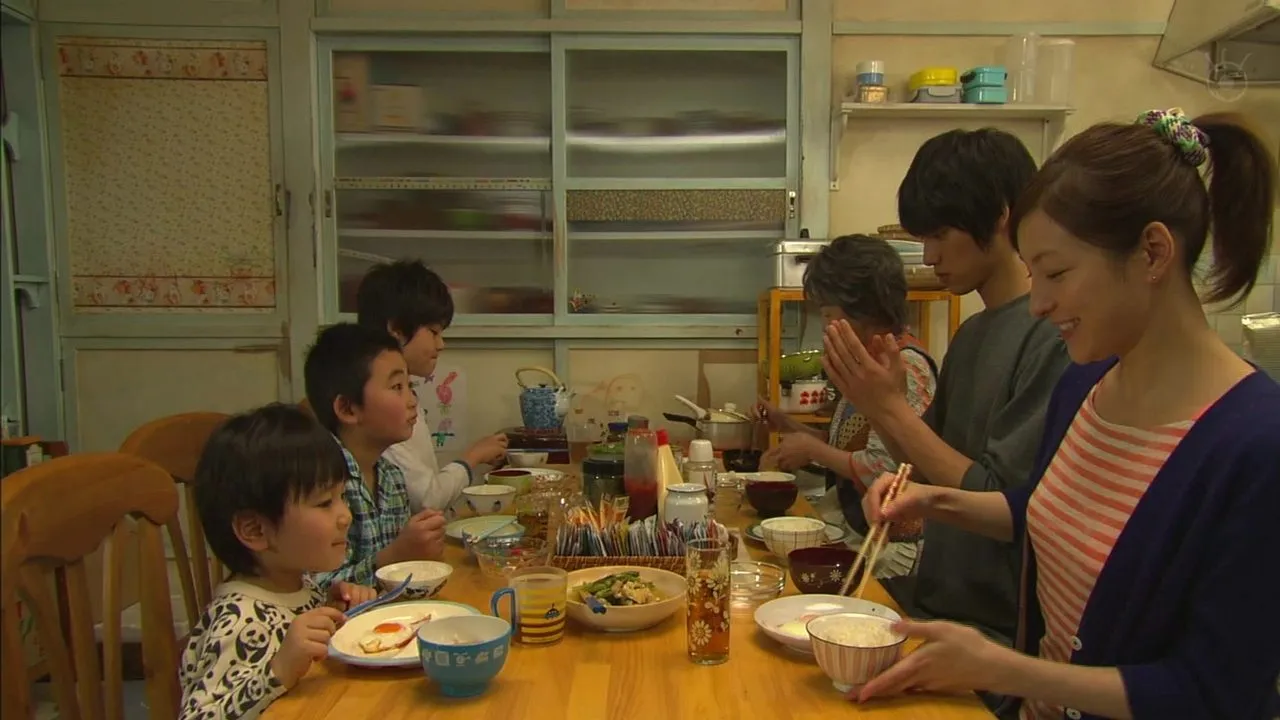
Sawako (Ryoko Hirosue) was dumped by her husband and since then she has raised her three sons alone. One day, she happens to meet a young man (Sota Fukushi) who is dying. She falls in love with him at first sight. The young man also suffers from memory loss. Sawako names him Hoshio. Taking advantage of his memory loss, she decides to make him live with her and as the father of her three sons. Now, Sawako, her three sons, her grandmother and Hoshio all live together. Sawako hopes Hoshio never regains his memory. Hoshio also begins to develop feelings for her. Whenever Sawako has troubles, Hoshio helps her out with his mysterious ability. Hoshio's past is also a mysterious. A mystery that is finally revealed.

romance
older woman younger man relationship
Last Updated: July 6, 2025
Cast
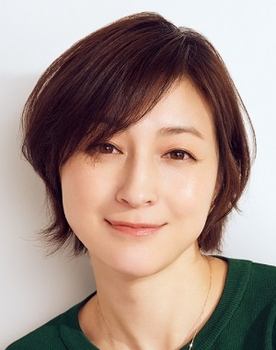


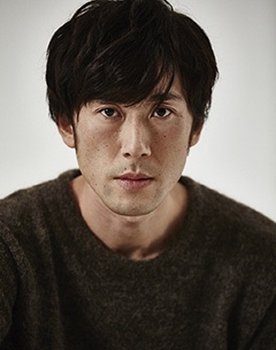
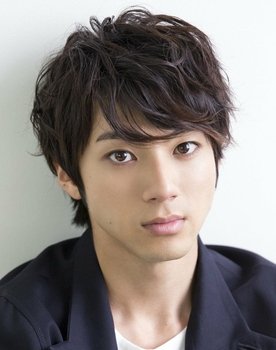

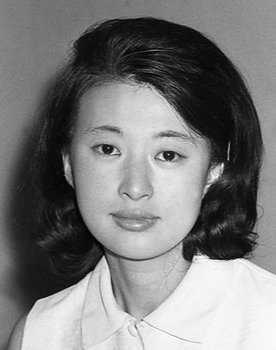
Image Gallery
Recommended


Created by Chaitanya Vootla
Github Repo ChaitanyaVootla/movie-browser
Powered by 
Built with 
Install App